We almost got addicted into making these ones. The boys and I made several loads of dough in a lapse of 3-4 days.
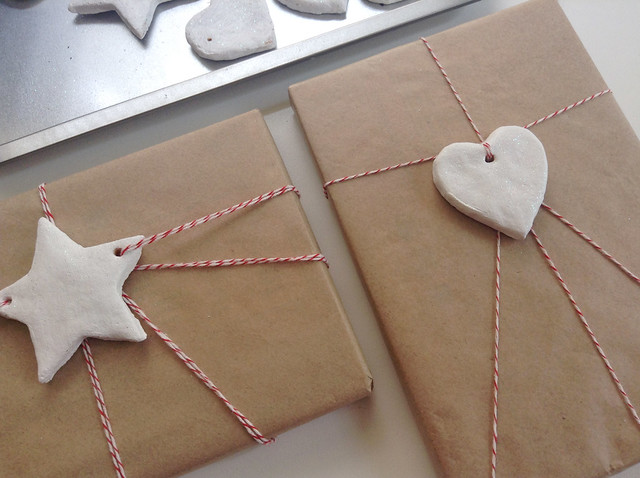
We could simply not stop experimenting around. At the end, we had so many that we used them not just as ornaments for the tree, but as Christmas gift tags as well.
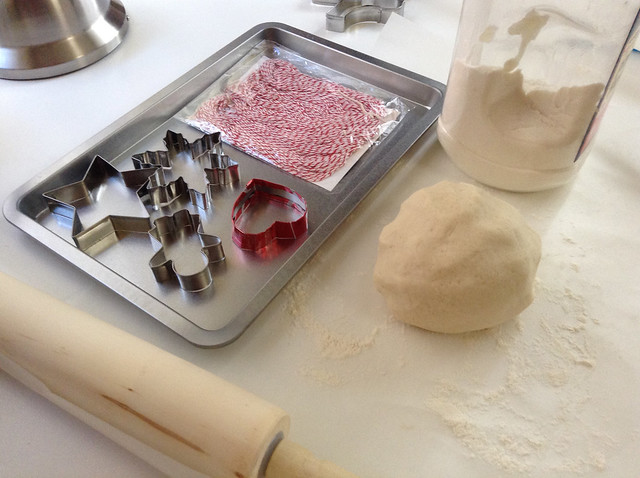
For this project I am using cookie cutters that I made myself from empty soda cans, a link for making those HERE
“Making Salt Dough ornaments “
INGREDIENTS:
- 1 1/2 cup of plain flour
- 1 1/2 cup of refine table salt
- 1 tablespoon of vegetable oil
- 2/3 cup of chill water
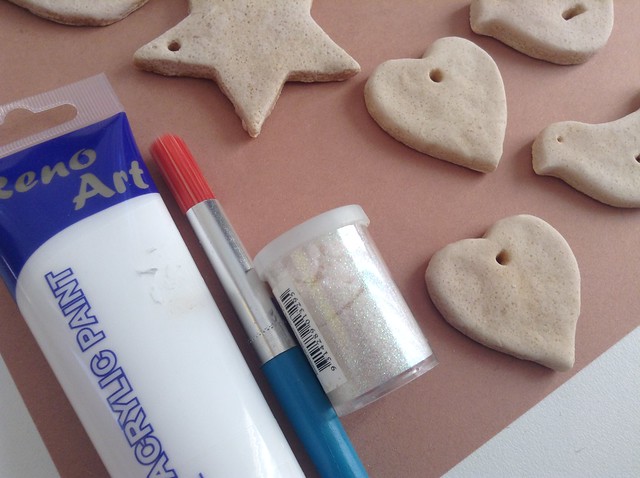
- White acrylic paint
- White glitter to decorate
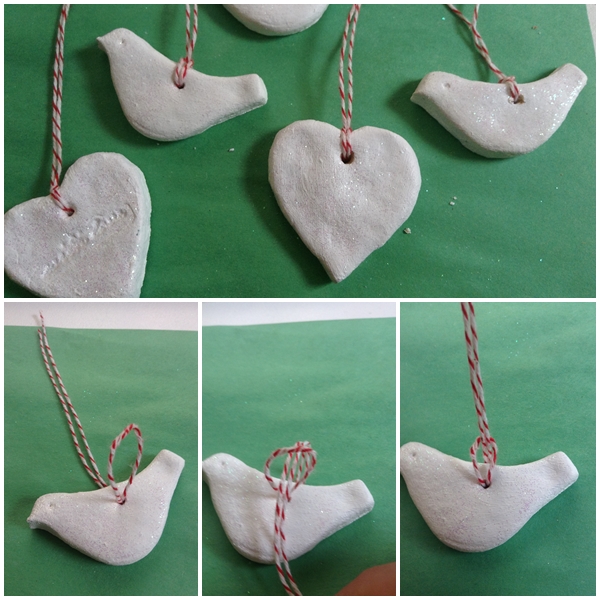
- Red ribbon or string to hang
METHOD
- Preheat oven to 120C.
- Mix flour and salt in a bowl
- Pour in oil and gradually add water
- Stir mix with a wooden spoon until combine
- Turn dough onto a lightly floured and knead to form a soft mixture.
- Roll dough out between 2 sheets of baking paper until 8mm thick
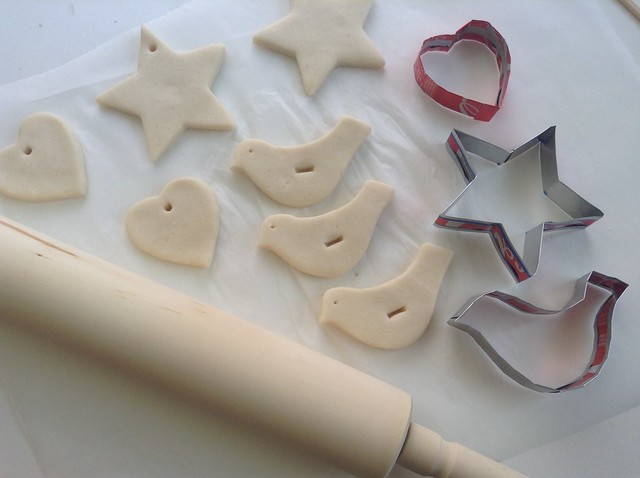
- Use Christmas shapes cutters to cut out decorations.
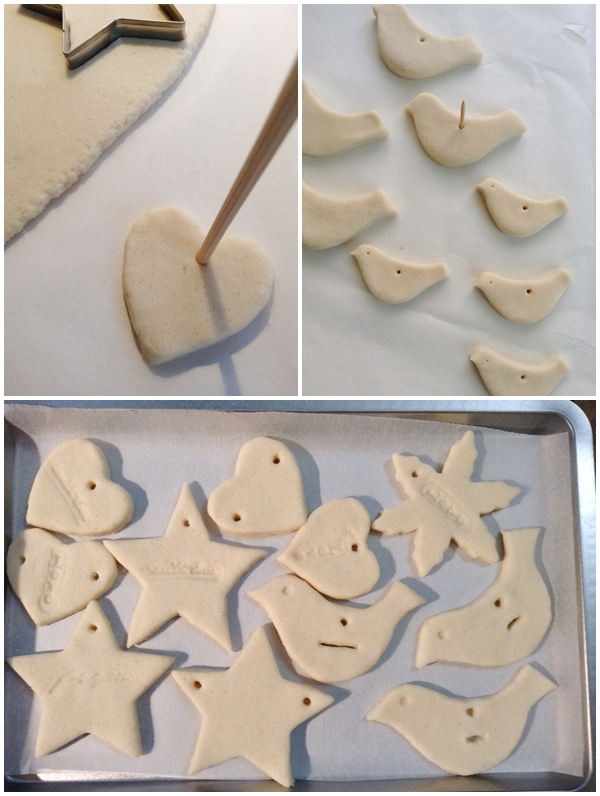
- Use a chopstick or a skewer to make a hole at the top of each decoration.(for tree ornaments)
and two holes in the sides for Gift tags.
- Place decorations on tray lined with baking paper.
- Bake decorations for 2 1/2 hours or until firm and dry.
- Allow to cool down completely.
“DECORATING THE ORNAMENTS”
- Paint front, back and sides and allow to dry
- Paint a second coat and while top cot is wet sprinkle with glitter. Allow to dry.
“USING THEM AS ORNAMENTS FOR THE CHRISTMAS TREE”
- Just thread ribbon into the holes and they are ready to be hung
USING THEM AS GIFT TAGS:
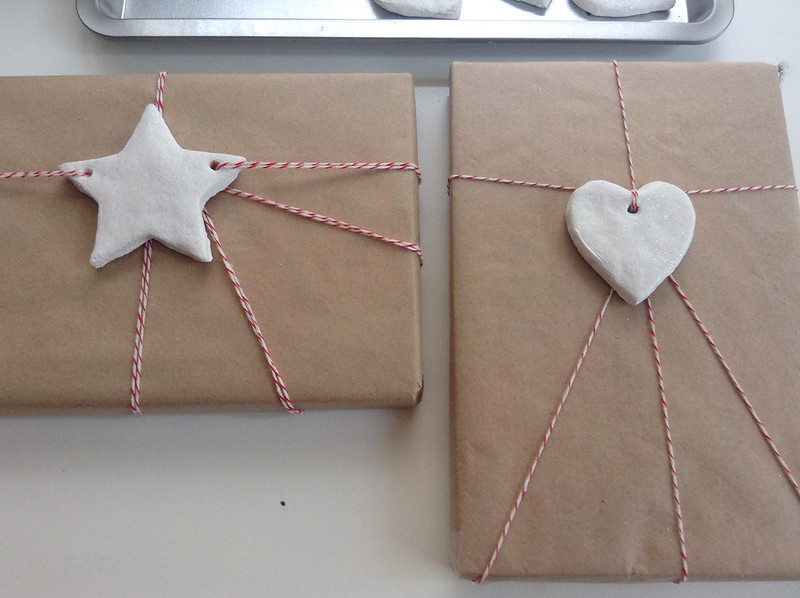
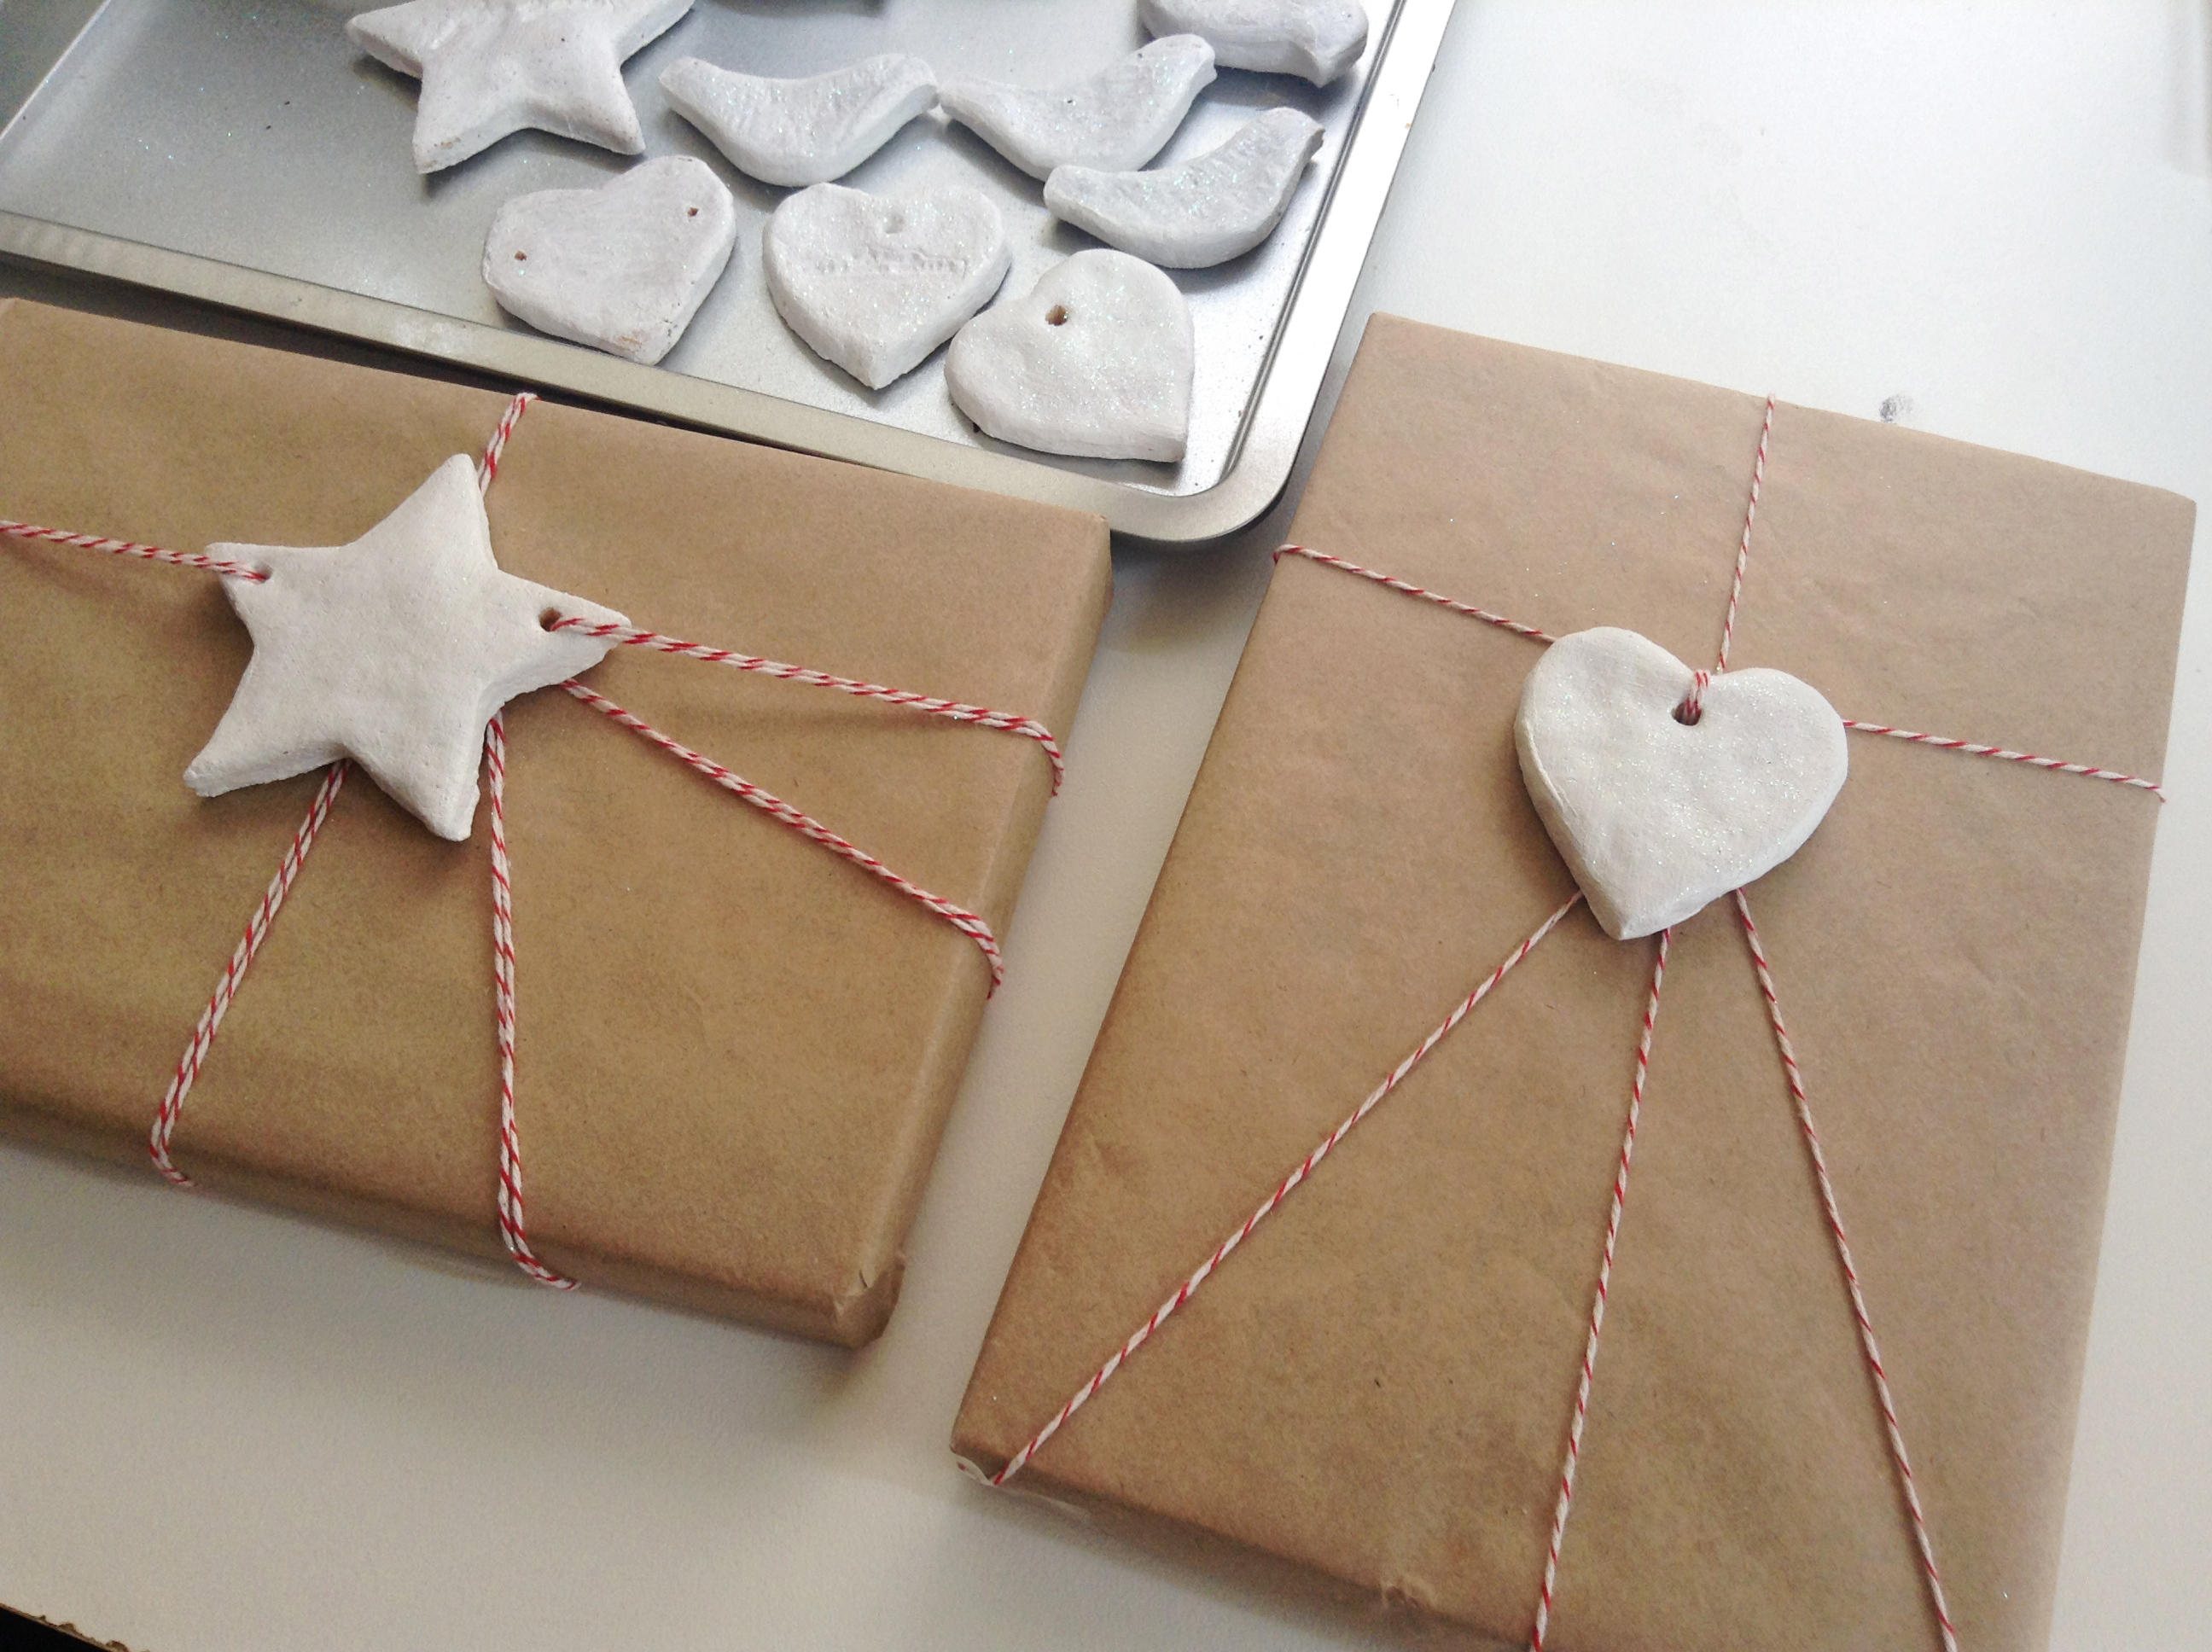
- Wrap present in paper of your choice , I am using craft paper.
- Cut a string long enough to give several rounds around the present and attach the ornament your would like to use.
- I glued the end bits at the back instead of leaving them hanging as we normal do.
NOTE: This Christmas decorations will keep for up to 1 month.
Enjoy! 🙂
This post is also available in: Spanish






Leave a Reply