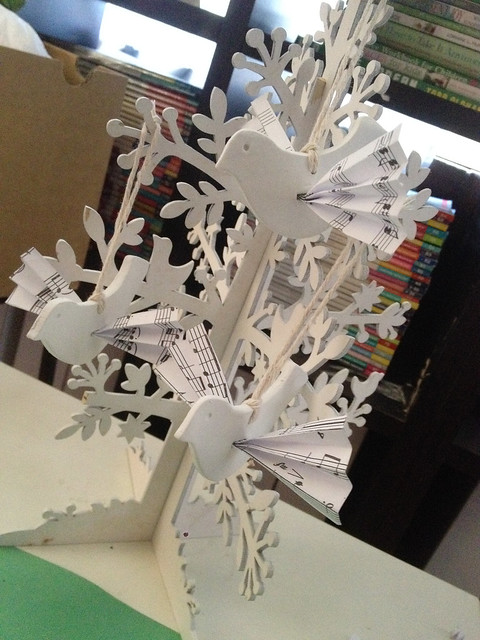
It’s almost Christmas and I’ve finally chosen the ornament that will become part of my handmade collection. Every year I design a christmas ornament and make 4 of them to be kept through the years so my kids can take one each when is time for them to have their homes and Christmas trees.
This year I decided for this one:
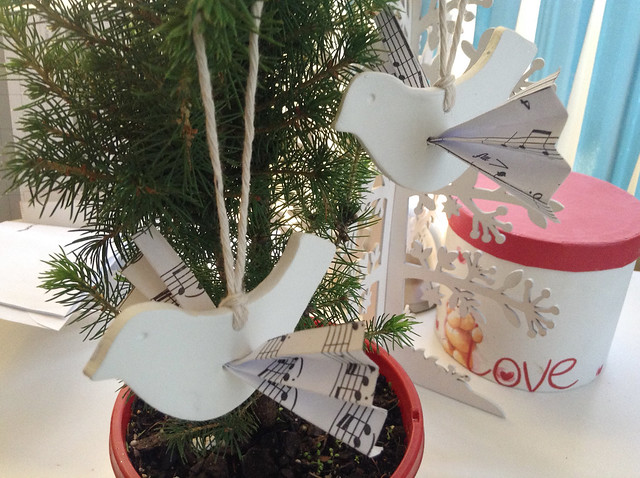
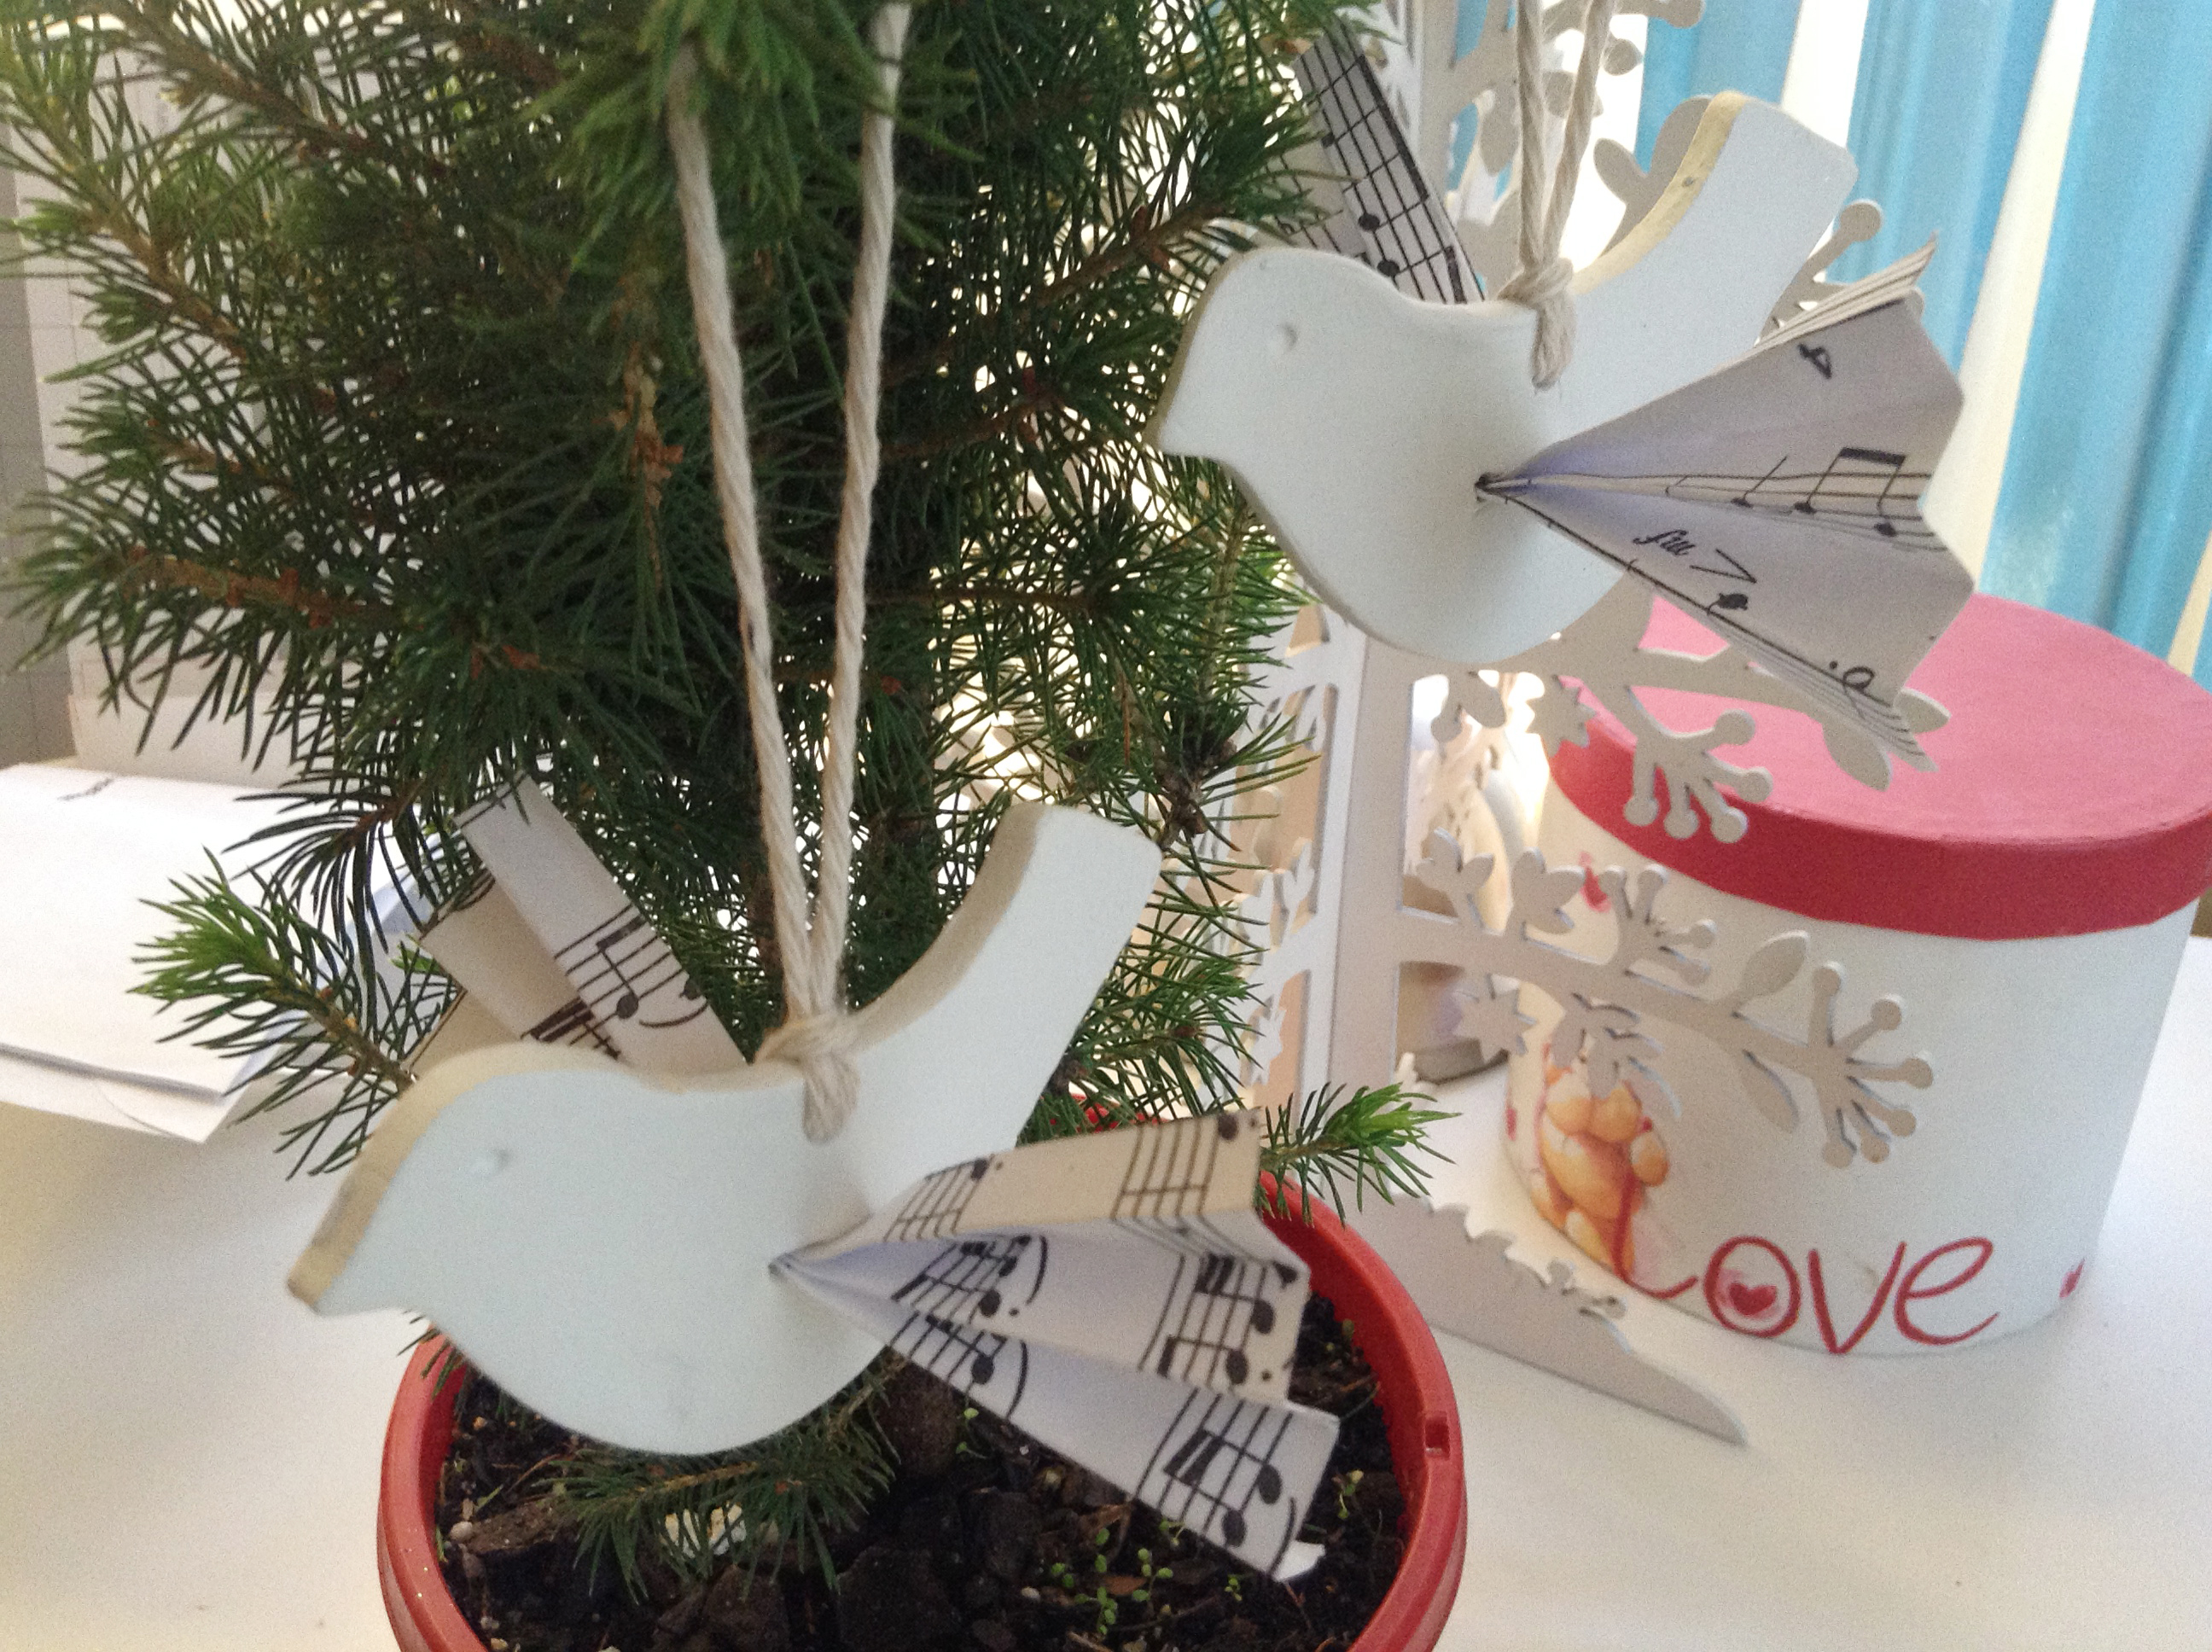
“Little music- hanging birds”
SUPPLIES:
- Air dry modelling clay in white
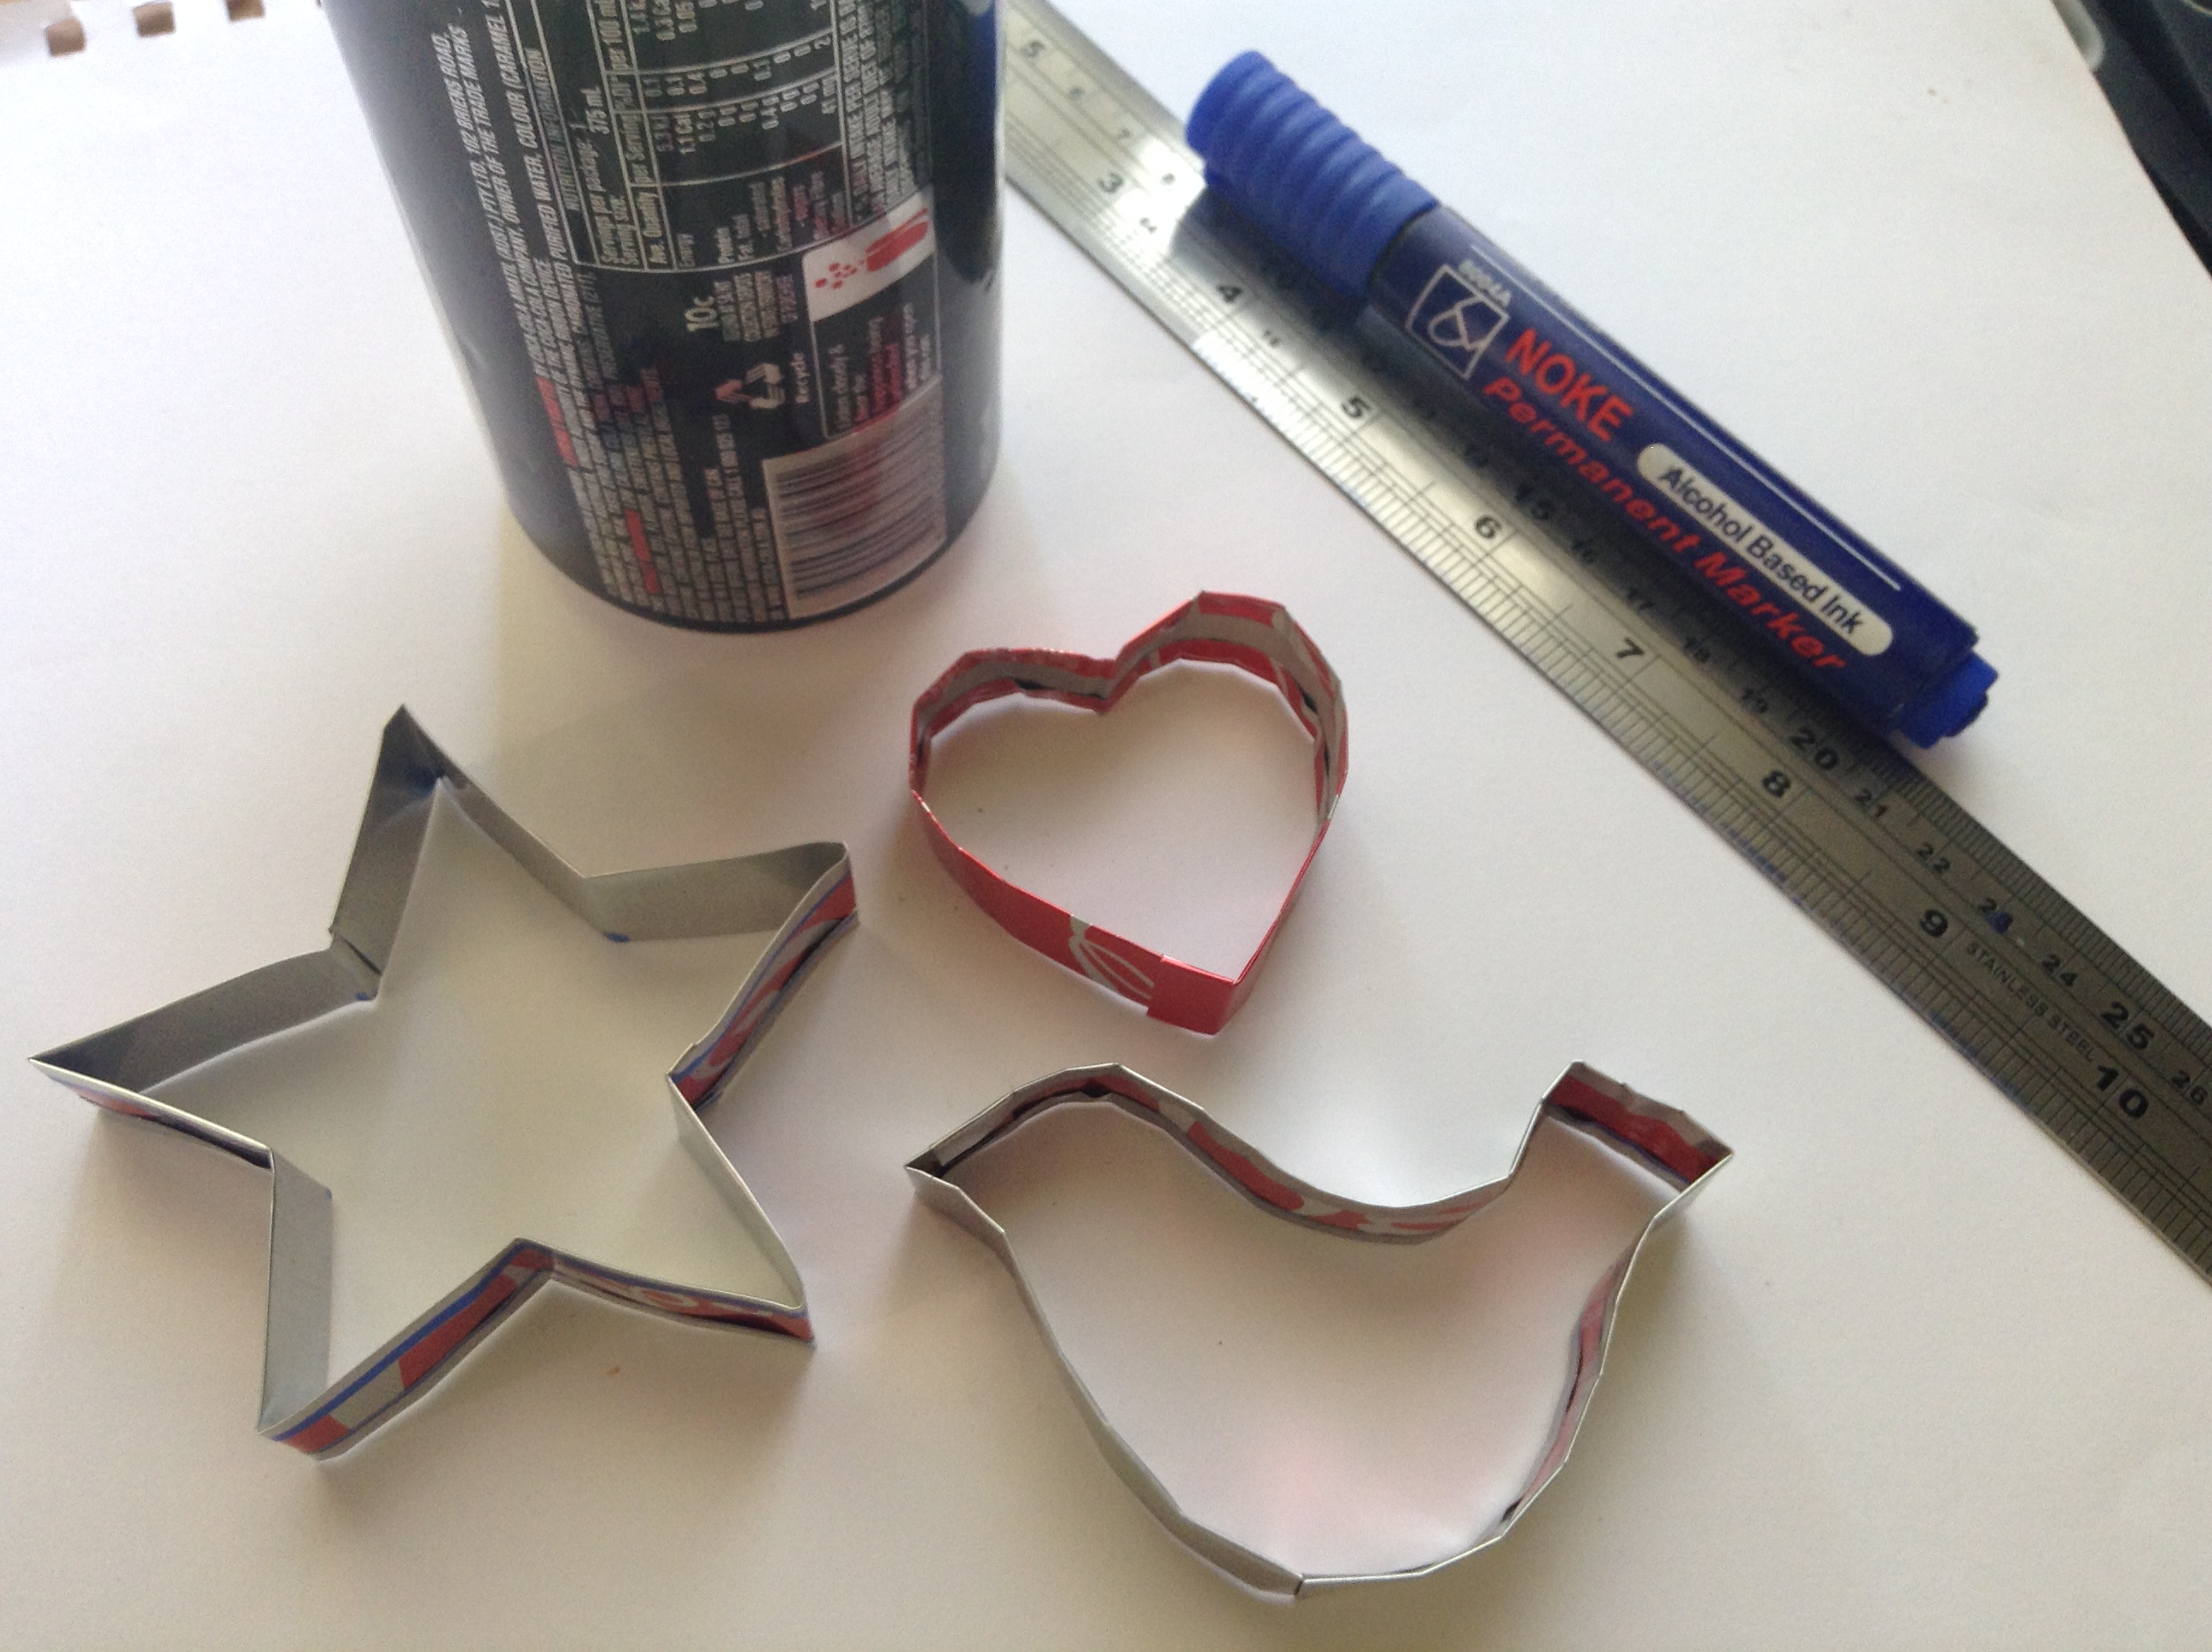
- Cookie cutter in the shape of a bird
(If you don’t have any you can easily make your own with this tutorial HERE) - Print of a music sheet
- Strings to make the hanger
- Skewers and ice cream stick
- Scissors
METHOD:
- Roll dough out between 2 sheets of baking paper until 8mm thick
- Use cookie cutter to cut out the bird shapes
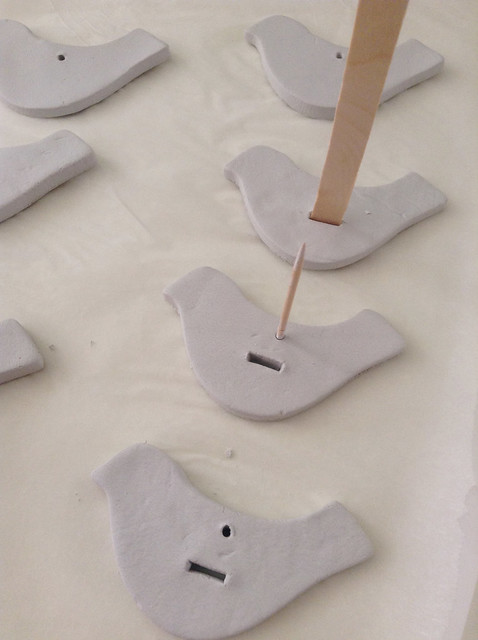
- Use a chopstick or a skewer to make a hole at the top of each bird.
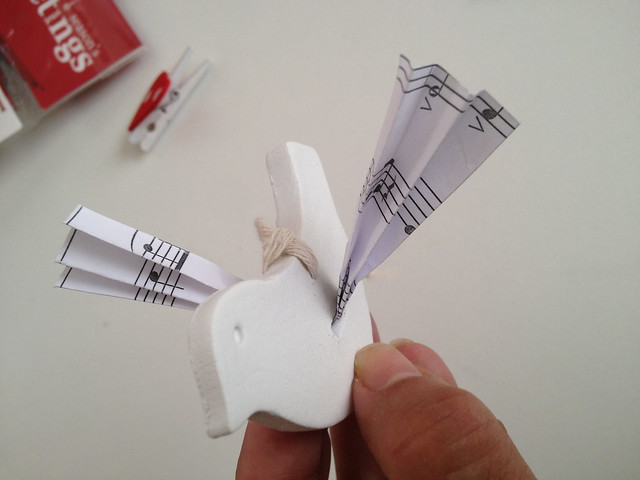
- Use the ice cream stick to create a slick or mini rectangle in the place were the wings will go.
- Be sure these are completely open at the back as well
- Let the figures dry at room temperature for 24 hours
- Once they are dry, you can paint them with acrylic paint if you want, but I’d chosen to leave mine just as they were.
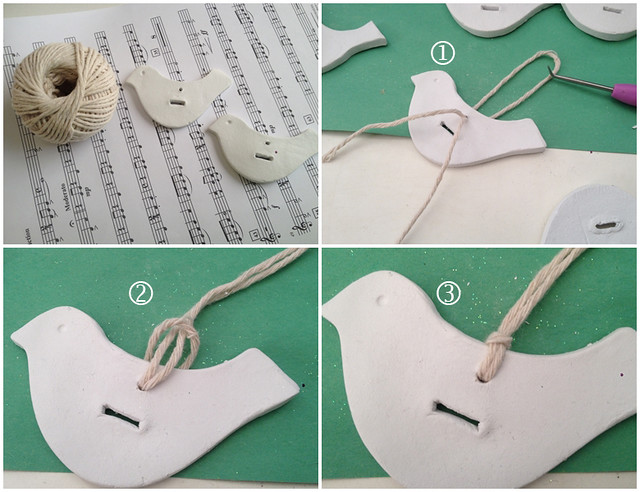
Use the string to make the hangers. I am using cotton twine.
HOW TO MAKE THE WINGS:
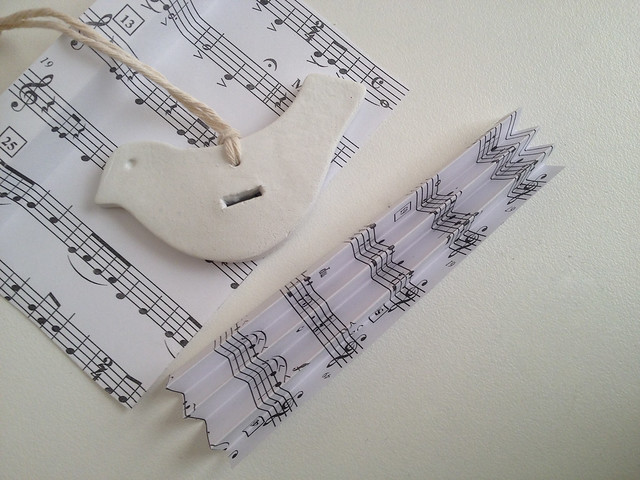
- Cut the music sheet print into 5cmwide x 10cm long pieces.
- Fold them as you would if you were making a paper fan, making sure it is the right wide to go into the rectangle in the bird shape.
- Slide the folded paper through the slit to give the bird its wings.
Done!
If you make these I would love if you share it with me either in Facebook or Instagram using the hashtag #colorand.love
Much love! 🙂

Leave a Reply